How to set up surveys in React
Sep 27, 2023


Surveys are a great tool to collect qualitative feedback from your users. This tutorial shows you how to implement a survey in a React app.
We'll create a basic React app, add PostHog, create a survey, and then add the code to show the survey in-app and collect responses.
Creating a React app
First, create a React app using create-react-app and go into the newly created react-survey folder.
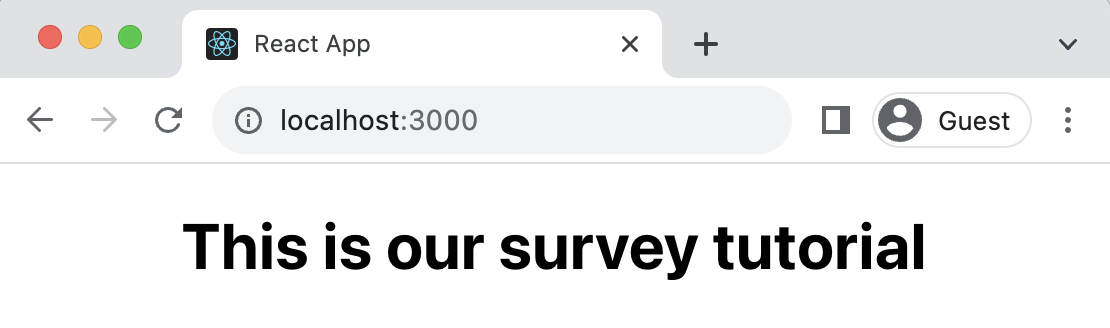
Next, replace the boilerplate code in src/App.js with the following:
Finally, run npm start and go to http://localhost:3000/ to see our new homepage.
Adding PostHog
PostHog will manage our survey and track our results. To use PostHog's React SDK, install posthog-js:
Once installed, import PostHog into src/index.js and set up a client using a project API key and instance address from the project settings. Then, wrap the app with PostHogProvider to access PostHog in any component.
With PostHog set up, our React app is ready for the survey.
Creating a survey
There are two options for displaying a survey using PostHog:
- Implement your own survey UI.
- Use PostHog's prebuilt survey UI.
This tutorial will cover how to implement both options:
Option 1: Implement your own survey UI
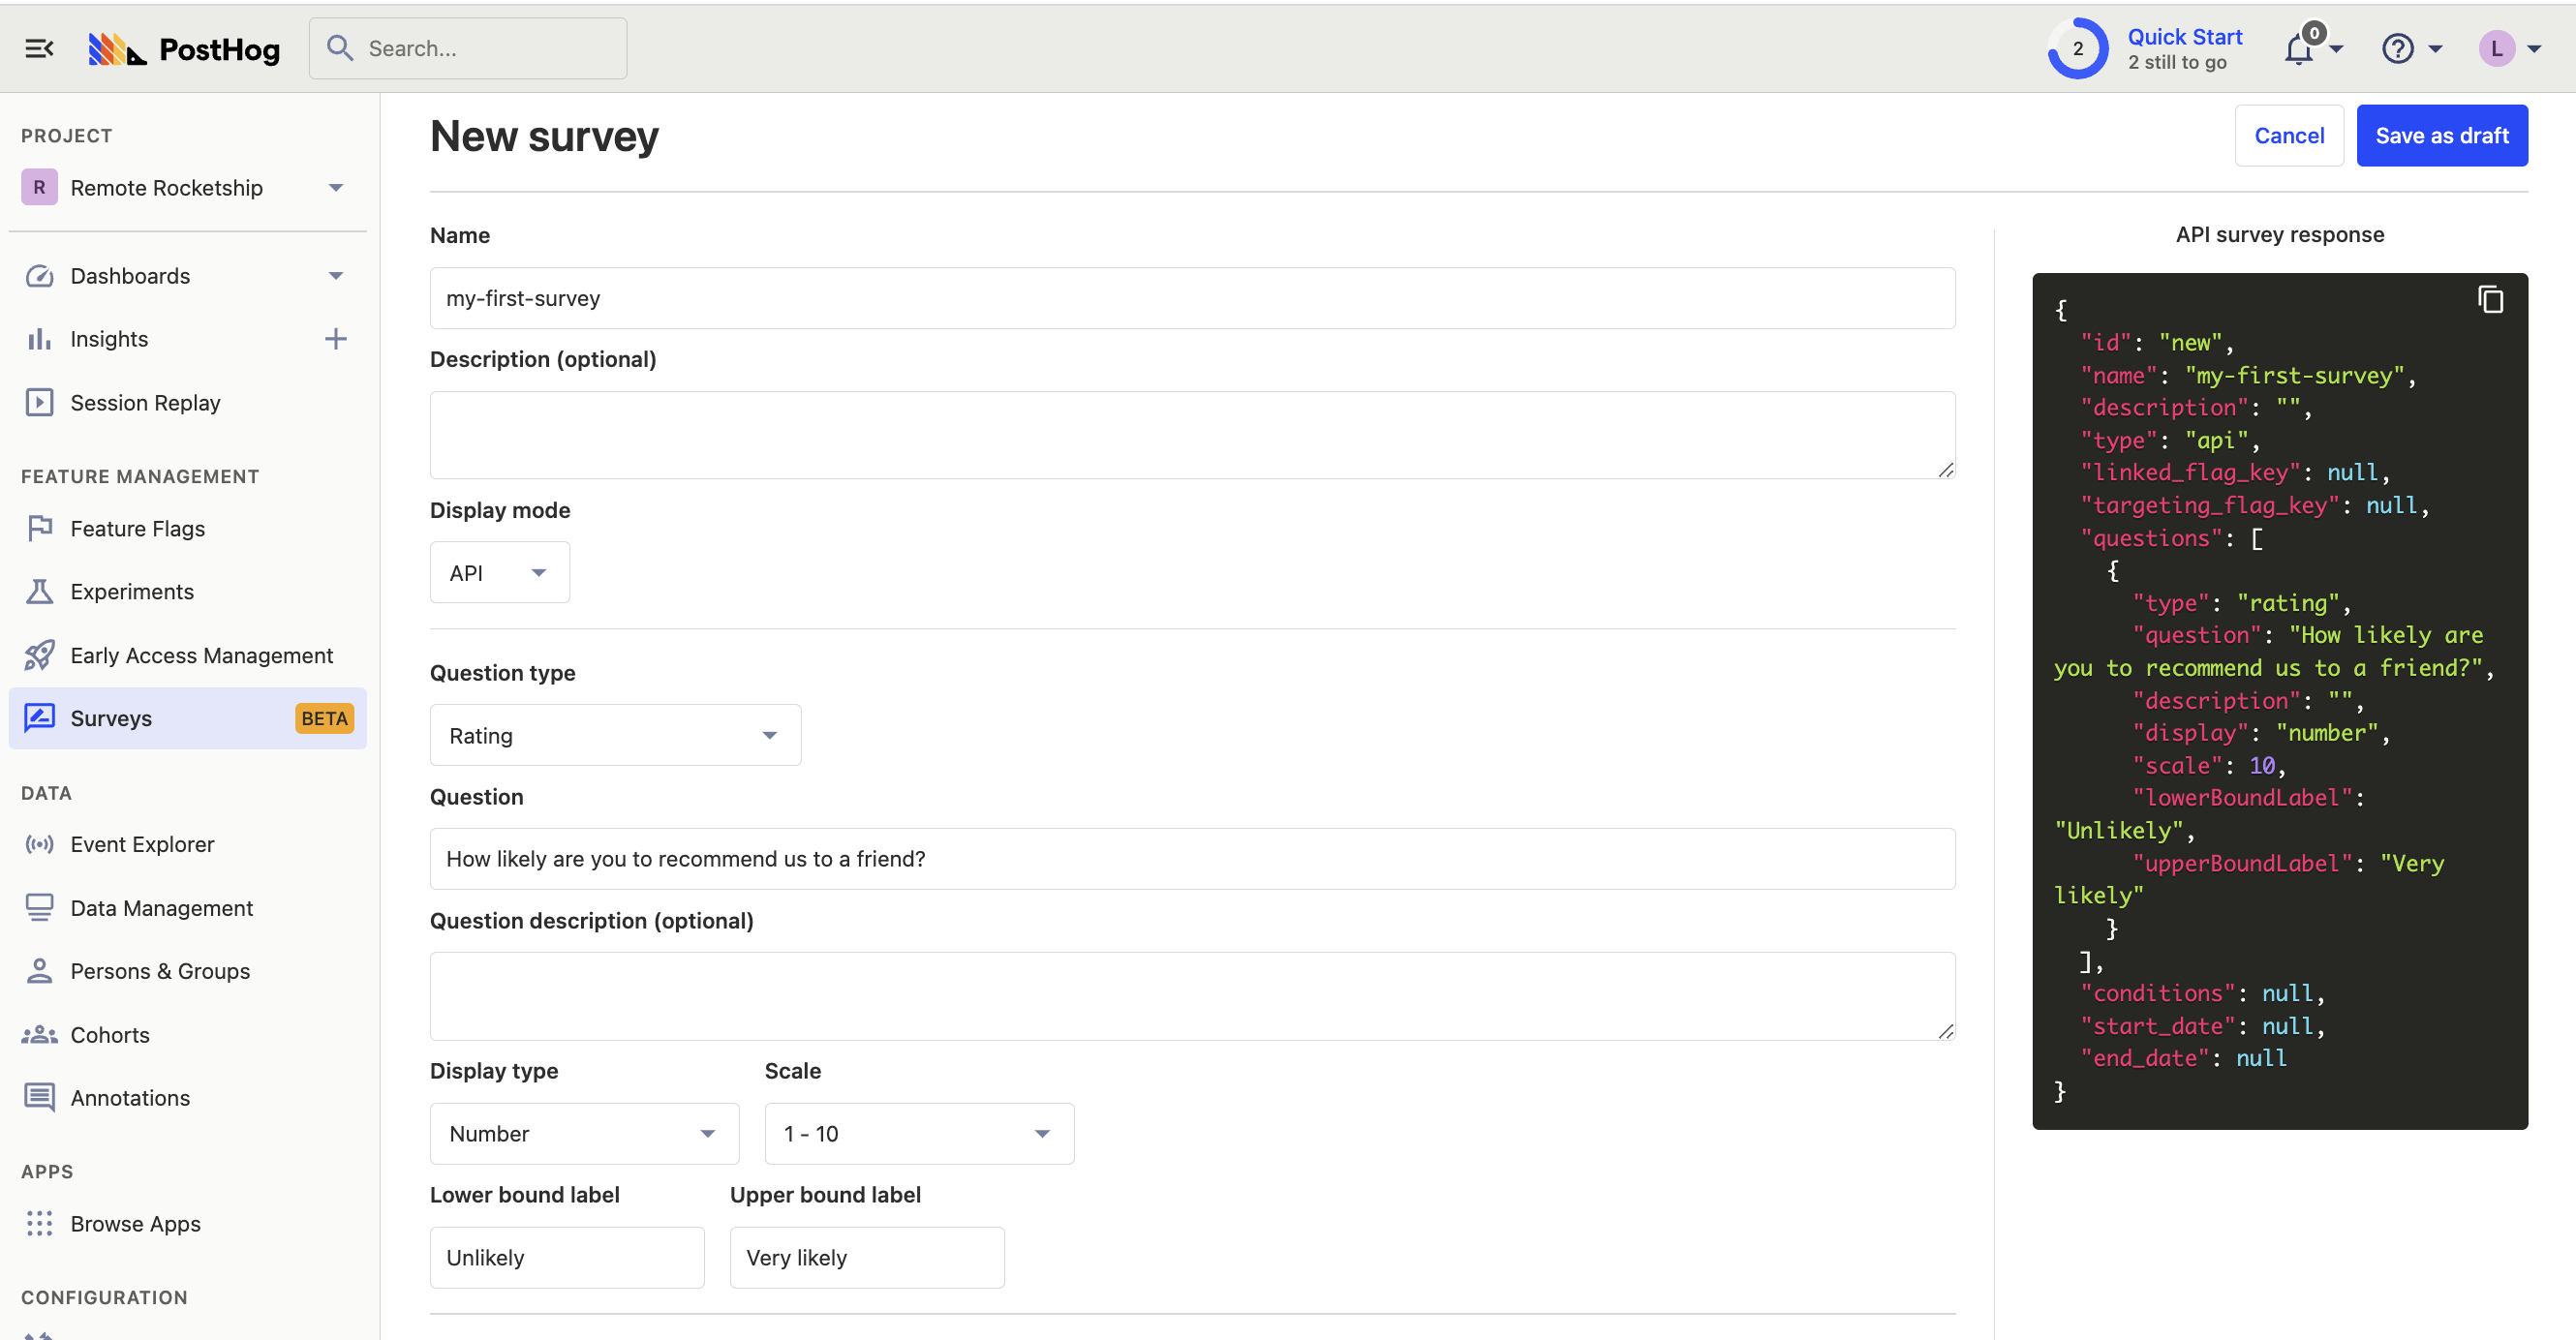
First, create a survey in PostHog by going to the surveys tab and clicking "New survey." Then, set up your survey with the following:
- Add a name (like
my-first-survey) - Set the display mode to
API - Set the question type to
Rating, question title toHow likely are you to recommend us to a friend?, display type tonumberand scale to1-10. - You can leave the remaining optional properties blank (such as
TargetingorThank you message).
Click "Save as draft" and then on the next screen click "Launch". We're now ready to integrate this survey into our app.
Adding the survey code
There are three parts to adding code for our custom survey:
- Create the survey UI.
- Add the logic for displaying it.
- Capture interactions from it.
1. Create the survey UI
We've created an example survey UI for this tutorial. To use it, create a new file in ./src folder called Survey.js and paste the following code:
Then, add the following CSS styles to your index.css file:
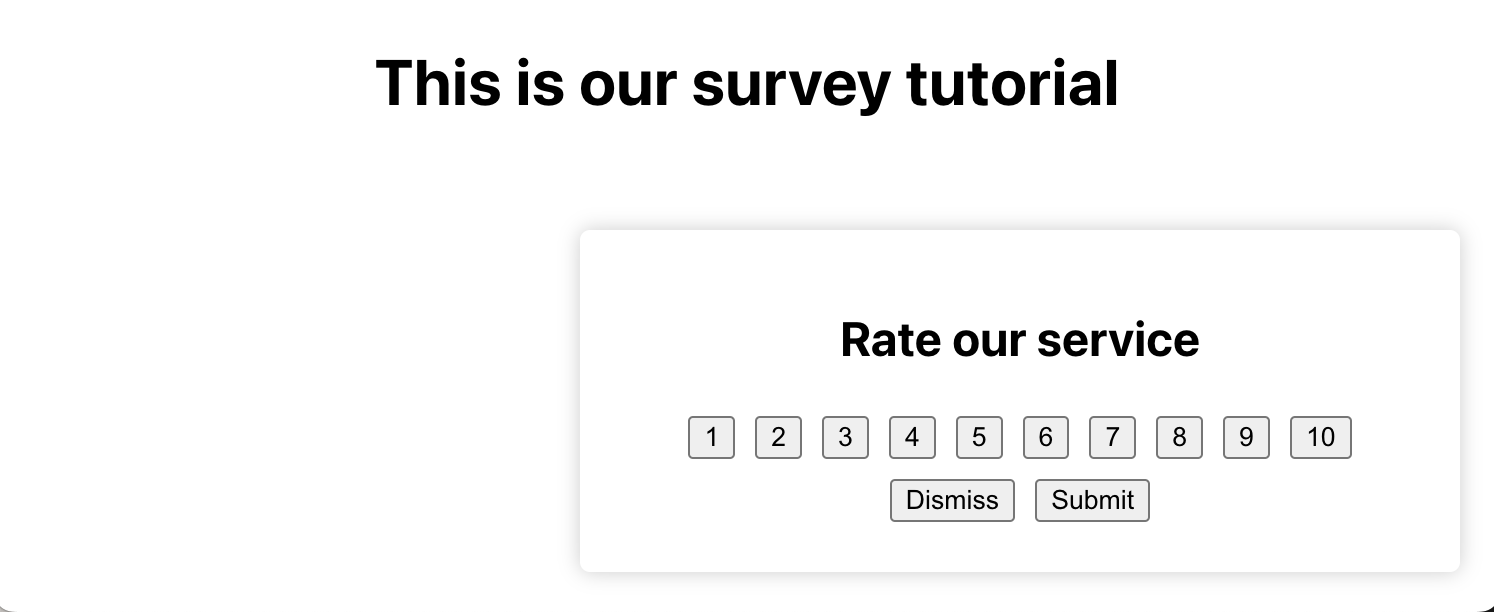
Finally, integrate the component into App.js:
This shows a survey popup every time you visit your app's homepage.
2. Add the logic for displaying it.
The first part of handling our display logic is fetching the survey from PostHog. PostHog keeps track of all active surveys for a user (this is especially helpful if you have set up custom targeting options).
To fetch the active surveys, we use the usePostHog hook to retrieve our PostHog instance. Then, we call posthog.getActiveMatchingSurveys() using useEffect():
posthog.getActiveMatchingSurveys() returns a surveys object that looks like this:
We can use this survey object to configure our Survey component:
Finally, we want to make sure we don't show the survey again to users who have either submitted or dismissed it.
We use localStorage to store this data. Then, we'll add a check to show the survey based on whether the user has already interacted with it or not:
3. Capture interactions from it.
The final step in setting up our survey is capturing interactions. This enables us to analyze the results in PostHog.
There are 3 events to capture:
"survey shown""survey dismissed""survey sent"(for responses)
You can capture these events using posthog.capture():
Altogether, your code should look like this:
That's it! Our survey is ready to go!
Option 2: Use PostHog's prebuilt survey UI
For a much faster set up, you can use PostHog's prebuilt surveys. There are variety of survey types to choose from, and PostHog handles all the display logic and event capture for you.
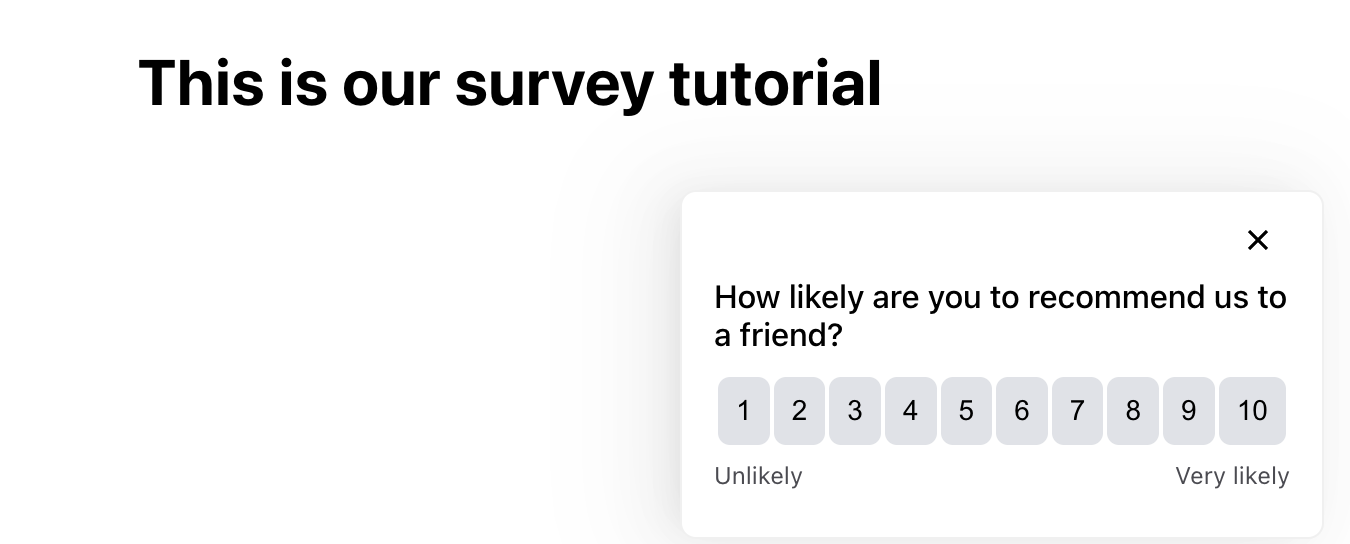
To create a survey with a prebuilt UI, set the display mode to Popover when creating your survey:

Then, select the question type you want and configure the survey as you like. Click "Save as draft" and then "Launch".
Your survey is now live and you should see it in your app. There are no further code changes needed!
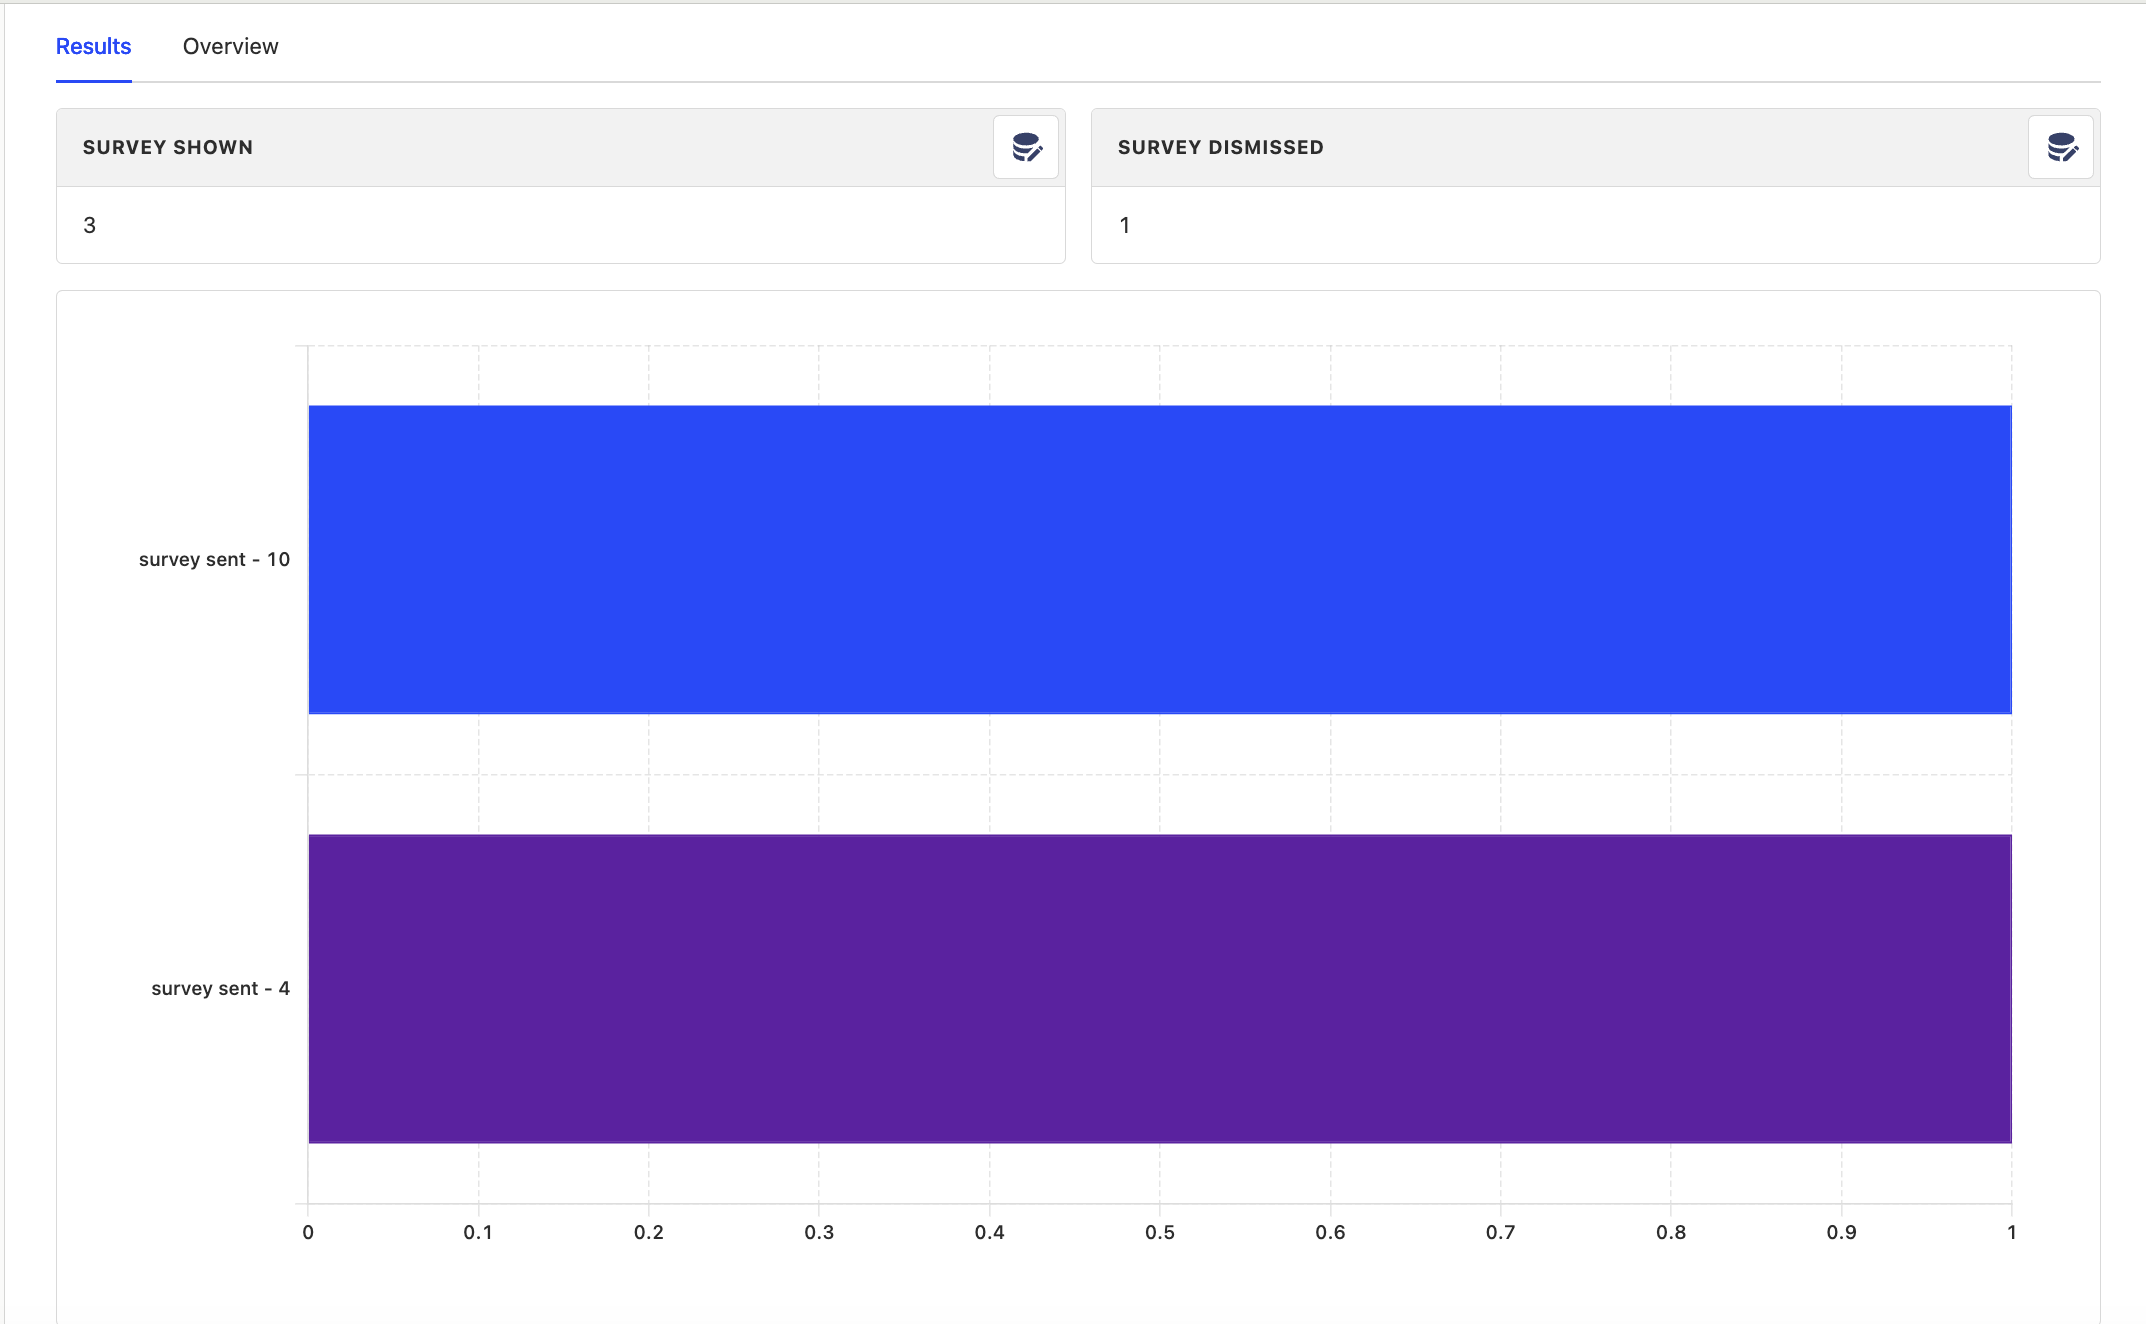
Viewing results
After interacting with your survey, you can view results by selecting the survey from the surveys tab. You'll see data on:
- How many users have seen the survey.
- How many users have dismissed the survey.
- Responses.
You can also filter these results based on user properties, cohorts, feature flags and more.
Further reading
- How to write great product survey questions (with examples)
- Get feedback and book user interviews with surveys